I’ve always believed that nothing beats the nostalgic charm of classic video games. As a retro gaming enthusiast I know firsthand how creating the perfect setup can transform your gaming experience and transport you back to those magical childhood moments.
Setting up a retro gaming station isn’t just about plugging in old consoles. It’s about crafting an immersive space that captures the essence of gaming’s golden era while incorporating modern conveniences. Whether you’re dusting off your NES collection or diving into the world of SEGA Genesis classics I’ll help you create the ultimate retro gaming paradise that’ll make your friends green with envy.
Key Takeaways
- A complete retro gaming setup requires both classic hardware (like CRT displays) and modern solutions (such as upscalers) to deliver an authentic experience
- Proper storage and organization are crucial – use floating shelves, cable management solutions, and dedicated storage units to protect and display your gaming collection
- Creating the right ambiance with LED lighting, comfortable seating, and proper viewing distances significantly enhances the retro gaming experience
- Invest in quality surge protectors (2100+ joules) and implement thorough cable management systems to protect vintage gaming hardware
- Modern upgrades like HDMI converters (RetroTINK, OSSC) and digital storage solutions can enhance classic gaming while maintaining authenticity
Essential Components for a Classic Gaming Setup
A complete retro gaming setup requires specific hardware elements to deliver an authentic gaming experience. Here’s my detailed breakdown of the core components needed for the perfect classic gaming station.
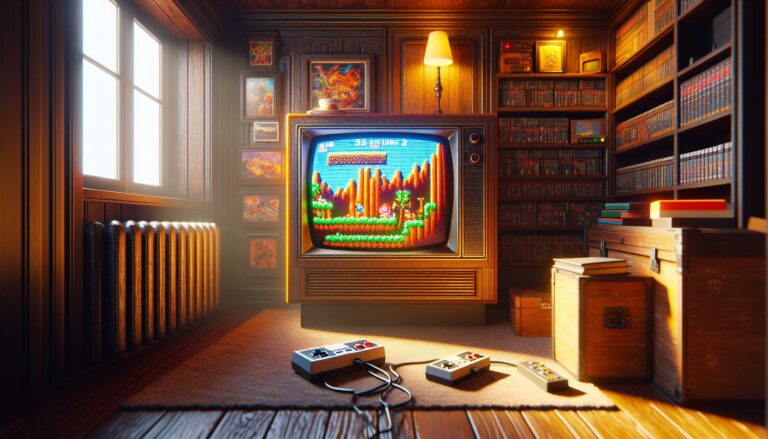
Display Options: CRT vs Modern Solutions
CRT (Cathode Ray Tube) displays offer the most authentic retro gaming experience with zero input lag and perfect aspect ratios for classic consoles. I’ve found that Sony Trinitron CRTs from the late 1990s deliver exceptional picture quality for 8-bit and 16-bit systems. Modern solutions include:
- RetroTINK upscalers: Convert analog signals to digital with minimal lag
- OSSC (Open Source Scan Converter): Processes 240p signals for HD displays
- Gaming monitors with low input lag: Dell S2721QS supports multiple resolutions
- Framemeister: Premium upscaler for RGB-modded consoles
| Display Type | Input Lag | Price Range | Best For |
|---|---|---|---|
| CRT | 0ms | $50-200 | Original hardware |
| RetroTINK | 1-2ms | $129-299 | Multiple consoles |
| OSSC | 0.5ms | $199-249 | RGB-modded systems |
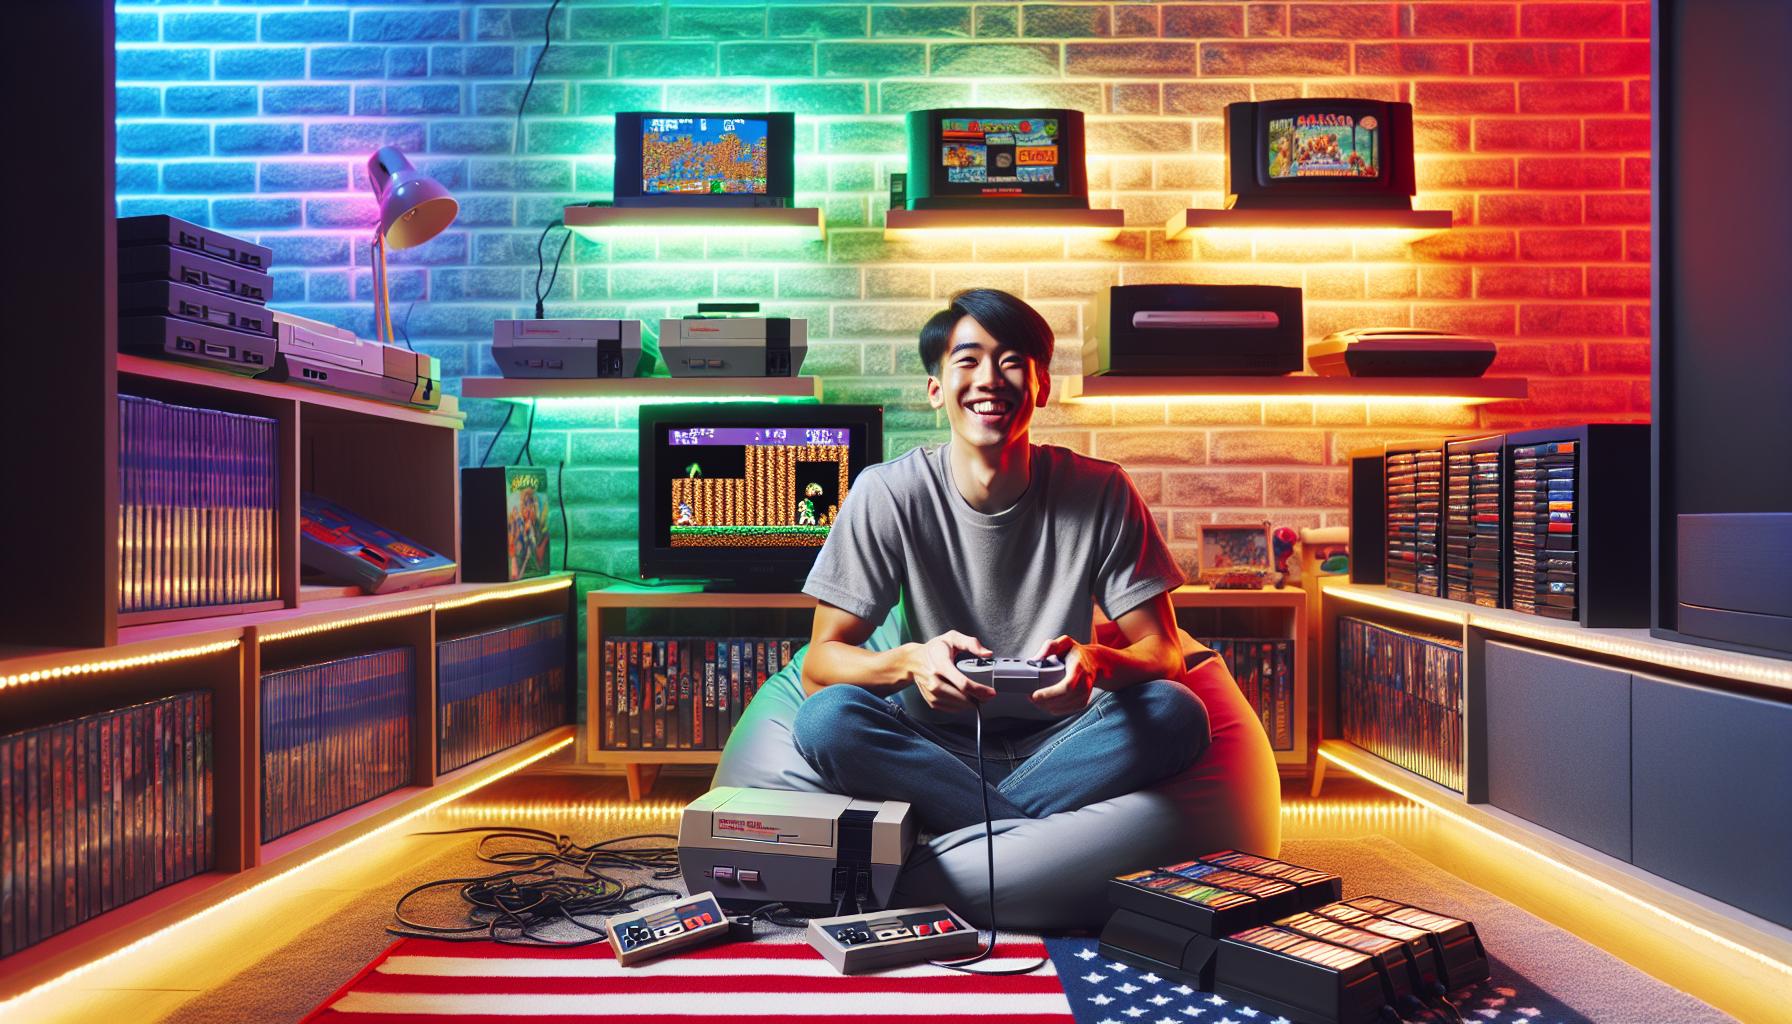
Console Storage and Organization
Proper storage extends console life and creates an organized gaming space. My tested storage solutions include:
- Floating shelves: IKEA LACK series fits standard consoles perfectly
- Cable management raceways: Hide wires while maintaining accessibility
- Modular cube organizers: Kallax units store 6-8 consoles per section
- Controller hooks: 3M Command hooks hold 2-3 controllers each
- Game cartridge holders: BitLounger organizes 24 games vertically
I arrange consoles by manufacturer and era to create logical gaming zones. Each system connects to a central power strip with surge protection for quick access and component safety.
Creating the Perfect Retro Gaming Room
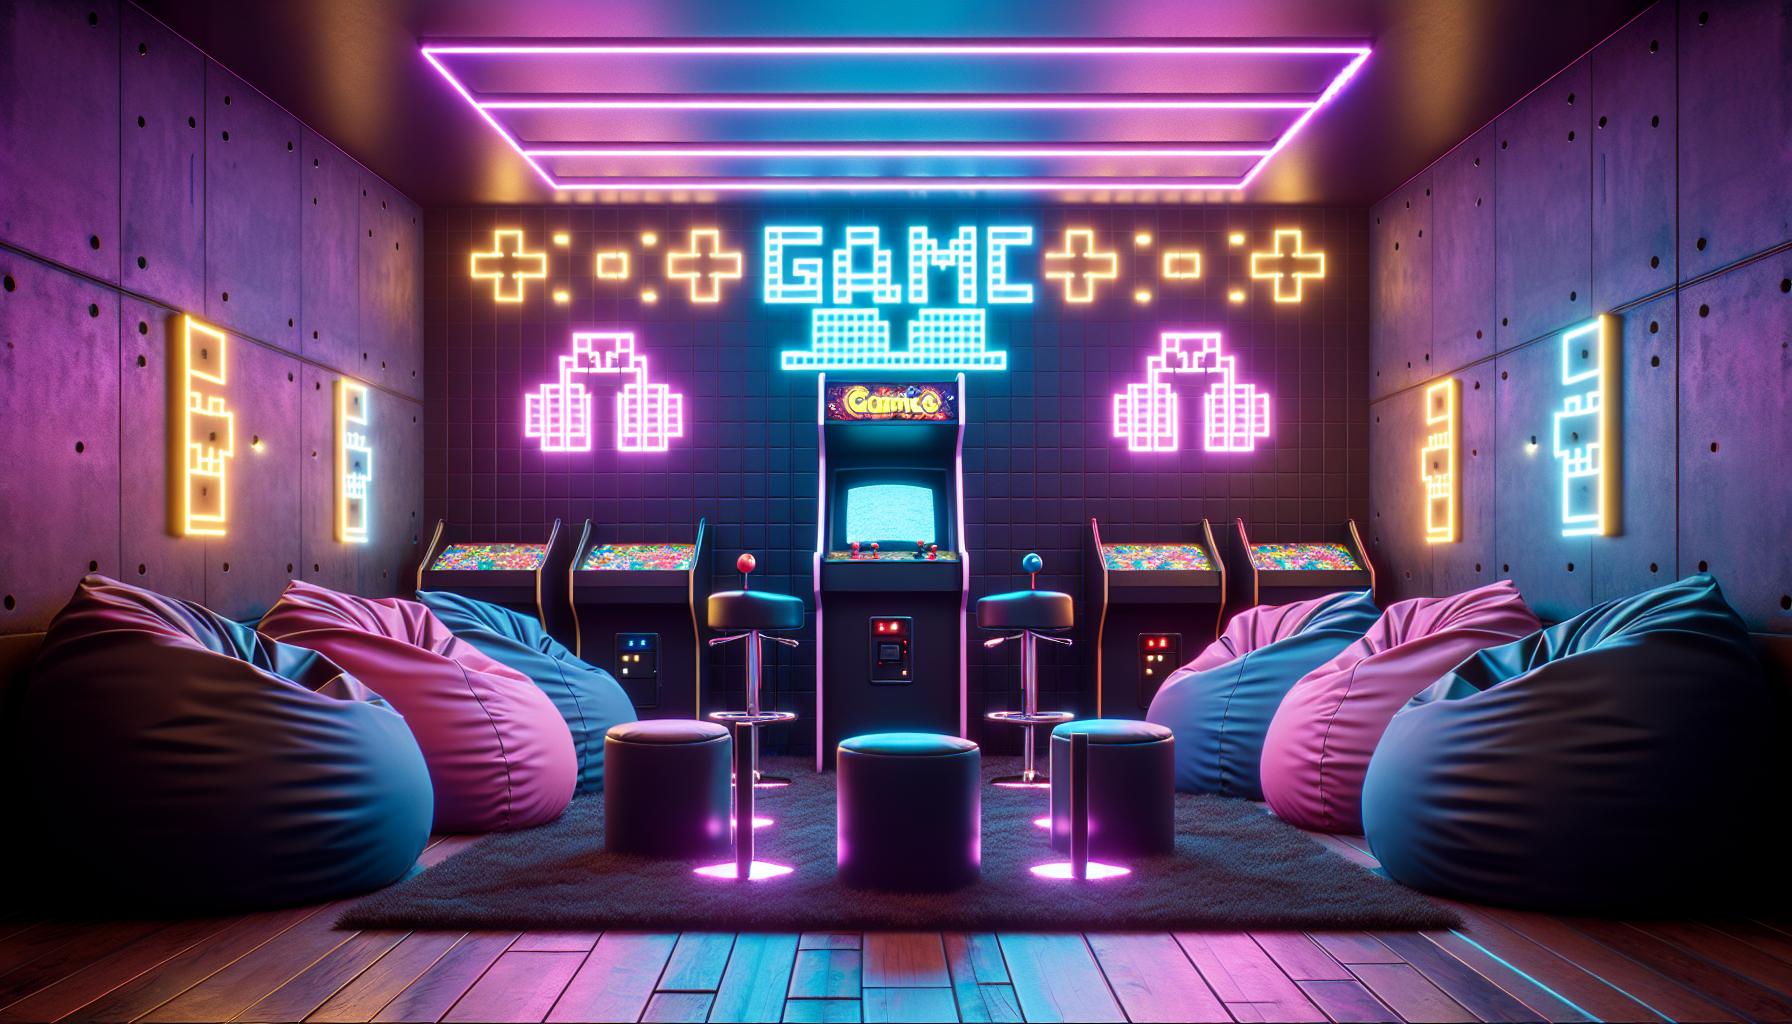
A dedicated retro gaming room transforms casual gaming sessions into immersive experiences. I’ve discovered that focusing on specific environmental elements creates the ideal atmosphere for classic gaming adventures.
Lighting and Ambiance
LED strip lights create dynamic color schemes that complement retro gaming setups. I position RGB light strips behind TV units or along shelving edges to reduce eye strain during extended gaming sessions. Dimmer switches connected to overhead lighting enable precise brightness control, while neon signs featuring iconic gaming characters add authentic arcade ambiance. Smart bulbs programmed to match each gaming console’s era enhance the nostalgic atmosphere – blue tones for SEGA systems, red for Nintendo consoles.
- Gaming bean bags positioned 6-8 feet from the display for casual play
- Adjustable height stools for arcade cabinet sessions
- Racing seat styles for driving games (F-Zero X, OutRun)
- L-shaped sectional sofas for multiplayer gaming nights
| Seating Type | Ideal Distance from Screen | Best For |
|---|---|---|
| Bean Bags | 6-8 feet | Casual Gaming |
| Gaming Chairs | 4-6 feet | Extended Sessions |
| Arcade Stools | 2-3 feet | Arcade Cabinets |
| Sectional Sofa | 8-10 feet | Multiplayer Games |
Cable Management and Power Solutions
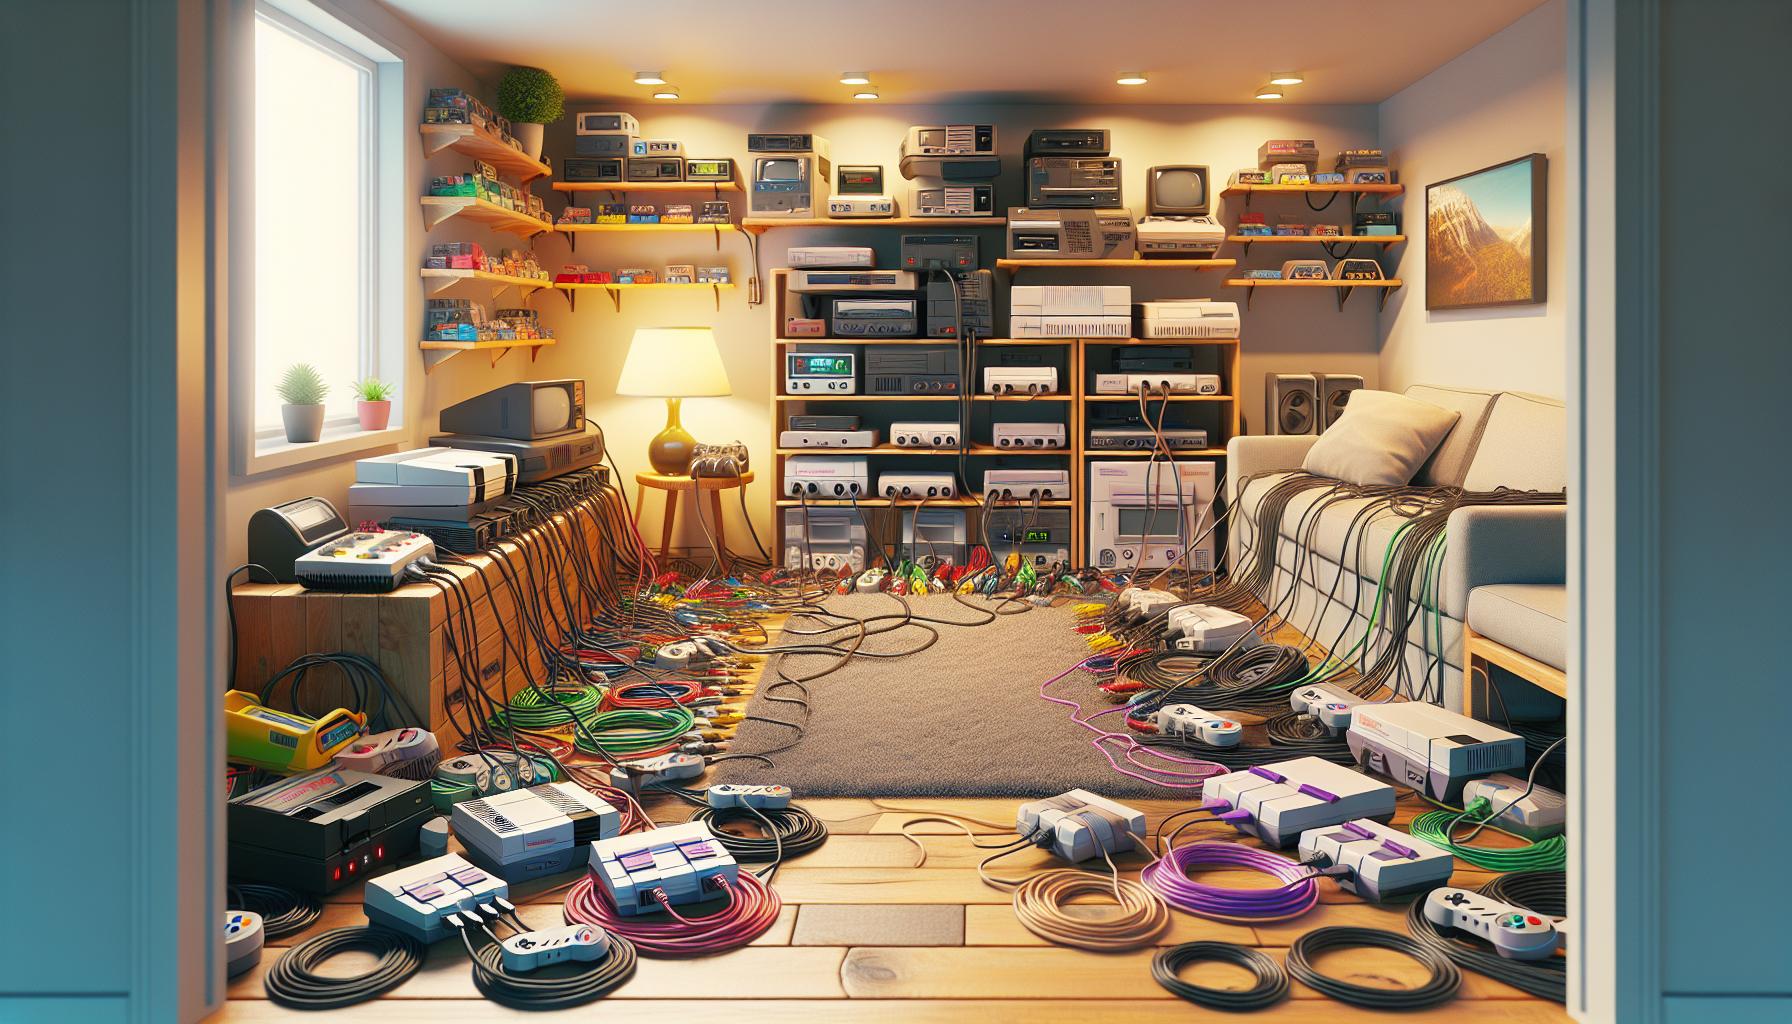
A well-organized cable management system protects retro gaming equipment while maintaining a clean aesthetic. I’ve implemented specific solutions to handle power distribution and cable organization for multiple vintage consoles.
Surge Protection Requirements
High-quality surge protectors safeguard classic gaming hardware from power fluctuations. I connect my retro consoles to surge protectors rated at 2100+ joules with 8-10 outlets spaced wide enough for bulky power adapters. Essential features include:
- Built-in circuit breakers that cut power during dangerous spikes
- LED indicators showing active protection status
- Coaxial cable protection for RF connections
- EMI/RFI noise filtering to prevent screen interference
- UL 1449 certification for verified safety standards
- Split-loom tubing (3/4 inch) for bundling AV cables by console
- Velcro cable ties placed every 6 inches to secure wire bundles
- Cable raceways mounted along baseboards to conceal power cords
- Color-coded labels on power bricks matching console identifiers
- Power strip mounting brackets to elevate cords off the floor
- J-channel cable organizers under shelving units for vertical runs
| Power Management Specs | Recommended Rating |
|---|---|
| Surge Protector Joules | 2100+ |
| Outlet Spacing | 2-3 inches |
| Cable Channel Width | 1.5-2 inches |
| Power Strip Distance | 6-8 feet from consoles |
| Wire Bundle Diameter | 0.75-1 inch |
Modern Upgrades for Vintage Systems

Modern technology enhances classic gaming systems through high-definition displays compatibility digital storage solutions. These upgrades preserve the authentic retro gaming experience while adding contemporary convenience.
HDMI Converters and Upscalers
High-quality upscalers convert analog signals from vintage consoles to crisp digital output on modern displays. The RetroTINK 5X Pro processes 240p content with zero lag while the OSSC delivers pristine scaling up to 1200p resolution. Here are key upscaling solutions:
- RetroTINK 5X Pro: Handles multiple retro formats with advanced deinterlacing
- OSSC (Open Source Scan Converter): Line-doubles analog signals with minimal latency
- RAD2X cables: Console-specific HDMI solutions for Sega Genesis SNES
- RetroScaler 2X: Budget-friendly option with component RGB SCART inputs
| Upscaler Model | Max Resolution | Input Lag | Price Range |
|---|---|---|---|
| RetroTINK 5X Pro | 1440p | <1ms | $300-350 |
| OSSC | 1200p | <1ms | $200-250 |
| RAD2X | 720p | 2ms | $50-70 |
| RetroScaler 2X | 480p | 2-3ms | $80-100 |
Storage and Emulation Options
Digital storage solutions preserve game collections while offering quick access to extensive libraries. Flash cartridges like the EverDrive series store multiple games on a single cart with save state capabilities. Essential storage upgrades include:
- SD2SNES Pro: Supports special chip games advanced ROM hacks
- EverDrive-64 X7: Instant saves N64 game compatibility
- GDEMU: Optical drive emulator for Sega Dreamcast
- TerraOnion MODE: Multi-system optical drive replacement
- Flash cart slots in original consoles
- SD card interfaces for game loading
- USB ports for ROM file transfers
- Network connectivity for game management
Displaying Your Gaming Collection
A well-organized retro gaming display transforms a basic setup into an impressive showcase. I’ve discovered specific display techniques that maximize space while protecting valuable gaming hardware.
Shelving and Display Cases
Glass-front IKEA Detolf cabinets provide optimal visibility for 10-15 consoles while protecting them from dust. I arrange floating shelves in a staggered pattern, creating visual interest with 24-inch spans between each level for adequate console spacing. Display options include:
- Mount adjustable LED strip lights under each shelf for dramatic console lighting
- Position larger consoles like the Neo Geo AES on bottom shelves for stability
- Install acrylic risers to create multi-level displays within each shelf
- Use bookends to keep loose cartridges upright at 75-degree angles
- Alpha-numeric sorting with custom printed spine labels
- Dust-proof Universal Game Cases with cover art inserts
- Pull-out drawer systems holding 50+ games per unit
- BitBox storage cases for loose cartridges sorted by region
| Storage Solution | Capacity | Protection Level |
|---|---|---|
| Universal Game Case | 1 game | High |
| BitBox | 14 games | Medium |
| Drawer System | 50+ games | Medium-High |
| Display Shelf | 20-30 games | Low |
Conclusion
Creating the perfect retro gaming setup is an exciting journey that blends nostalgia with modern innovation. I’ve shared my extensive knowledge to help you build a space that not only preserves these classic games but enhances your playing experience.
Whether you choose to go all-in with a dedicated gaming room or start small with a carefully curated corner I’m confident these setup ideas will help you create something special. Remember that your retro gaming space should reflect your personal gaming style while maintaining functionality.
The most rewarding part is seeing your collection come to life in a way that lets you enjoy these timeless games exactly as they were meant to be played. Now it’s time to power up those consoles and start making new memories with your perfectly organized retro gaming paradise.